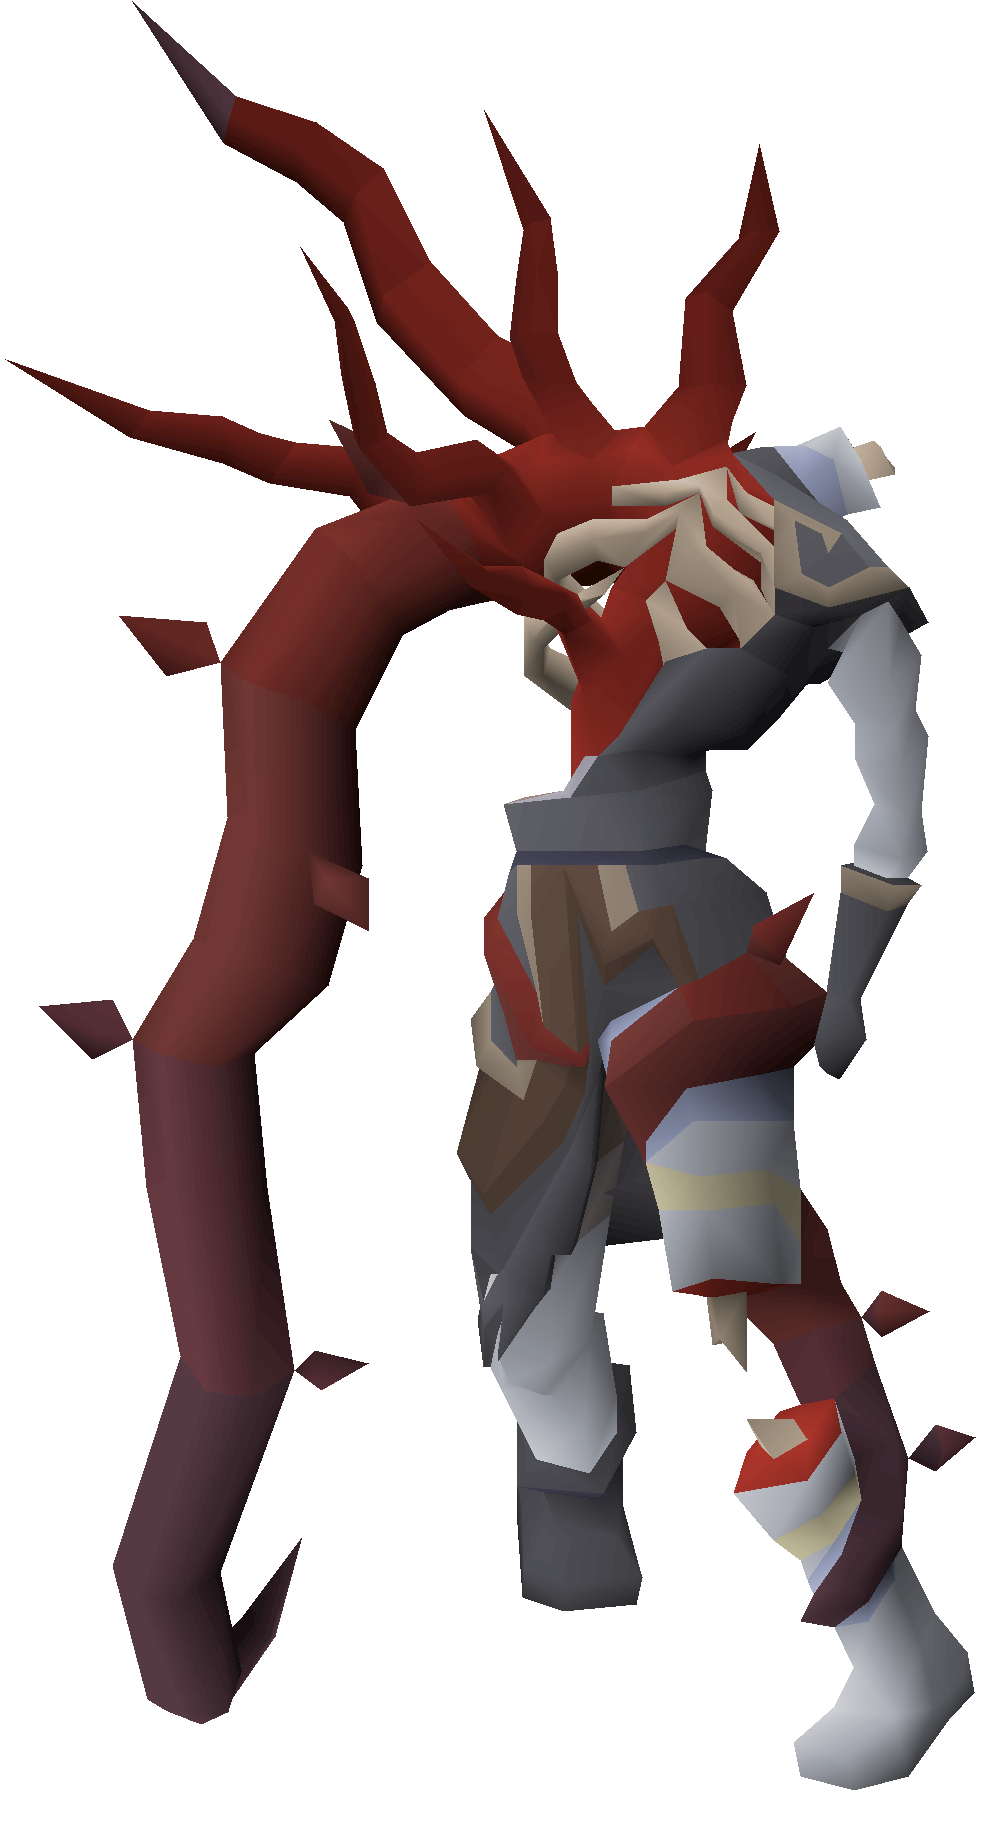
Vardorvis uses a standard slash melee auto-attack on a 5-tick speed. His base max hit is 32, climbing to 43 when his health is critically low, and every hit — auto or special — heals him for 50% of the damage dealt to you (rounded down). Keeping Protect from Melee active reduces his auto-attack potency by about 75%, dropping his max to roughly 8-10, which is why you keep that prayer up by default. A defining quirk: his Strength and Defence scale with his remaining HP — as he loses health his Defence falls (he gets easier to hit) while his Strength rises (his autos hit harder). He fires the four specials below in random order.
Swinging Axes. The Strangler's tendrils fling Vardorvis' axes across the arena. A direct hit deals up to 35 damage plus a bleed over 14 ticks (roughly 15+ damage; the bleed gets worse and ticks every tick if you run while bleeding). Protect from Melee halves the initial axe hit but does not stop the bleed. The arena is a 3x3 grid of quadrants; dodge by running two tiles diagonally away from where an axe is headed. When three axes come from one row, run four tiles diagonally, or learn the tick-precise 'axe skip'.
Darting Spikes. He darts around you, leaving cracks that erupt into tendrils for up to 25 damage (and heal him for half). A crack usually appears right under you on the first dart — stand by the arena edge to minimise cracks and stop one spawning beneath you. The number of darts scales with his health (one above ~500 HP, two from 231-500, three below ~130).
Head Gaze. Once he is below 570 HP, Vardorvis' Head launches a single green projectile (heralded by 'Vardorvis' head gazes upon you...'). You must block it with Protect from Missiles. Failing to block drains 10 prayer points and disables your overhead protection prayers for 3 ticks. He won't melee while the projectile is airborne and takes 2 ticks to resume attacking after it lands — so if you miss the block, immediately flick Protect from Melee back on (he will always melee next), watch your feet for spikes, and heal.
Strangle. Also from below 570 HP, he slams his arm into the ground and entangles you, spawning spores in the centre of the screen that you must destroy within 5 ticks or take high damage. He can still attack you through the animation. A minimum of four spores appear, rising up to six the more he uses it. You can right-click attack him after the overlay appears to sneak in a free hit without losing ticks.
Enrage. At 33% health (~231 HP) he enters an enrage phase after his next attack — with no visual cue — and his specials come far more frequently. Axes spawn faster and the head appears more often, so this is where most learner deaths happen. A lull in the axes usually means a Strangle is coming, giving you a brief breather.
A few finer points tie these together. The number of axes scales with his health — one when he is above 690 HP, two (sometimes a third) between 231 and 690, and three once he drops below 231. The arena divides into nine 3x3 quadrants and axes travel in straight or diagonal lines, which is why fixed safe-spots and the axe-skip exist. He is extremely accurate (Attack level 280, +190 attack bonus), so you will rarely out-defend his autos — the prayer, not your armour, is what keeps those hits small. And because the head only starts gazing and the Strangle only begins once he is below 570 HP, the opening stretch of the fight is comparatively gentle: get your special-attack opener and steady damage in before the full mechanic set comes online.