

Bloodveld Best in Slot Gear & Strategy Guide
Best Gear vs Bloodveld
auto-updated from live wiki dataYour stats
Defaults to a maxed (99s) main-game account. Edit any stat to match yours.
Best Ranged setup vs Bloodveld
Suggested items
Damage / sec
—
vs Bloodveld
Max hit—
Accuracy—
Time to kill—
Setup value
—
Build options — pick your budget
Open in the DPS calculator →
Best in slot gear for Bloodveld (current meta)
This setup is computed live from the same wiki-sourced combat stats and monster data that power our OSRS DPS calculator — so it tracks the current meta instead of going stale. Pick your combat style above and it ranks every viable weapon and armour piece by damage per second against Bloodveld, factoring in the boss's defences, size and any elemental weakness.
Not at maxed stats? Lower any level on the left and the recommendation re-ranks instantly — requirement-gated gear drops out automatically. For the full ranked list per slot, open the BiS calculator; to pit two specific items against each other, use Gear Compare.
Bloodveld Strategy Guide
Bloodveld Guide
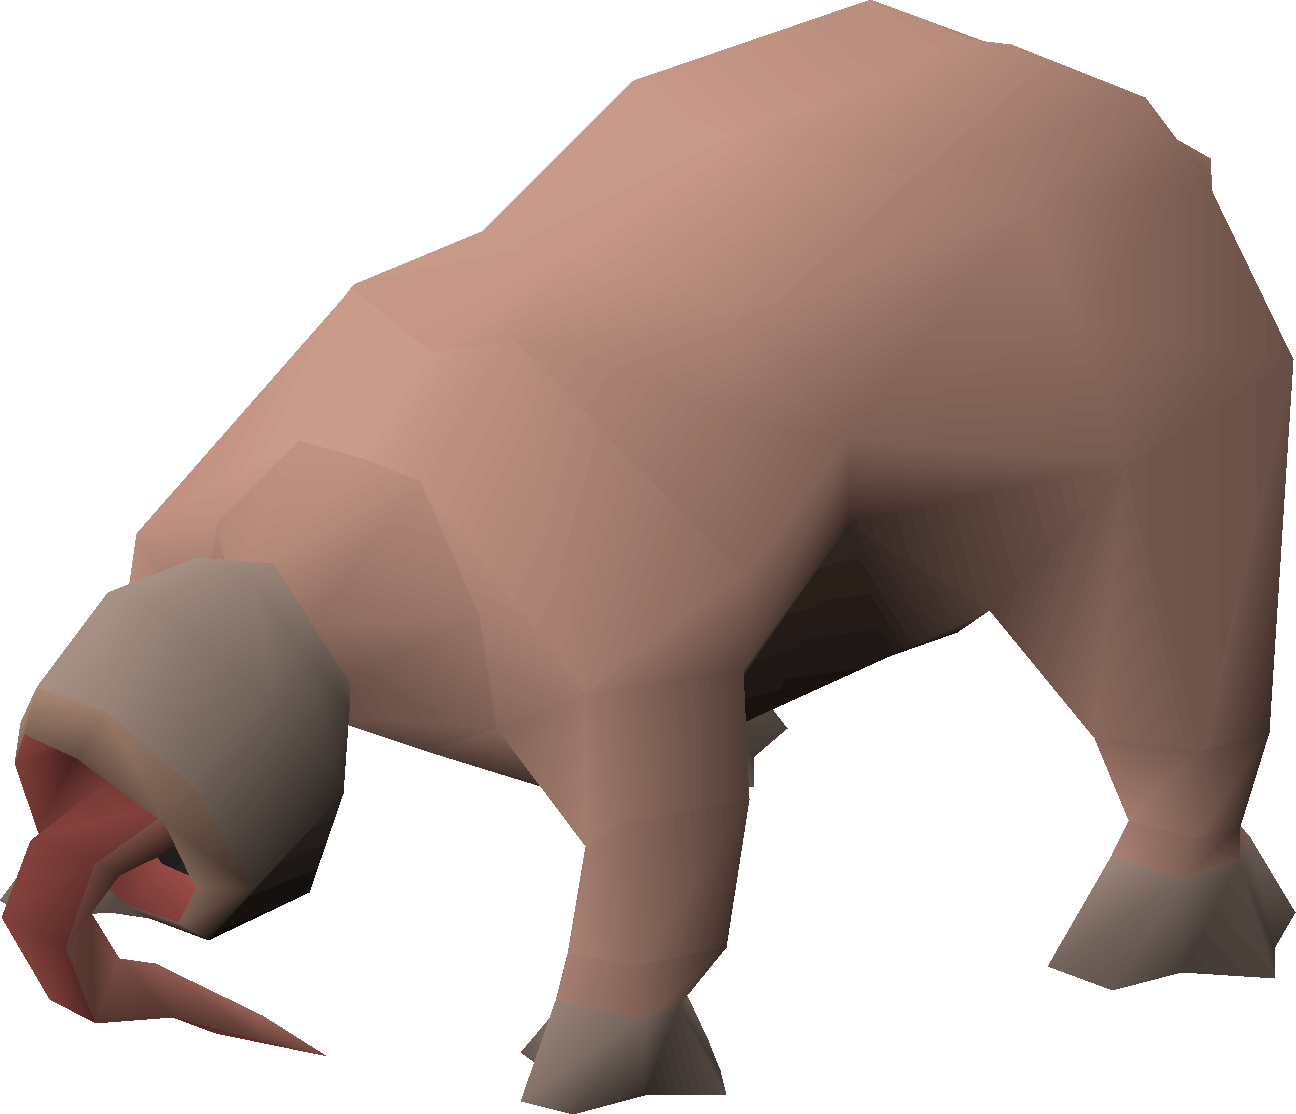
Bloodvelds are a type of demon that attack with their long tongues, and they are one of the most popular early-to-mid Slayer monsters in Old School RuneScape. As a Slayer monster, a bloodveld requires a Slayer level of 50 before you can damage one. The common variant found in Slayer dungeons is combat level 76 with 120 Hitpoints and a max hit of 5, while the stronger variant inside the God Wars Dungeon (and its Wilderness version) is combat level 81 with 134 Hitpoints and a max hit of 6. They are not aggressive and not poisonous. Because they are classified as demons, bloodvelds are affected by demonbane weapons. They make an efficient, low-pressure task: cheap to fight, easy to safespot, and a reliable source of Slayer experience.
Requirements & where to fight
The only hard combat requirement is 50 Slayer — without it your hits will not register. Beyond that, the access requirement depends on where you fight them:
- God Wars Dungeon bloodvelds (level 81) require 60 Strength or 60 Agility to reach.
- Stronghold Slayer Cave bloodvelds require an active Slayer task to access.
- Morytania locations require the Priest in Peril quest.
Common spots include the Slayer Tower (first floor and the task-only basement), the Stronghold Slayer Cave, Meiyerditch Laboratories, and the God Wars Dungeon. Bloodvelds are assigned by Krystilia, Vannaka, Chaeldar, Konar, Nieve and Duradel. The Slayer Tower is the standard pick for a normal task thanks to easy access and built-in safespots.
Recommended stats & gear
This is a pure melee fight, so bring a melee setup. Since a bloodveld is a demon, demonbane weapons work against it and are a strong choice if you own one. The one piece of gear theory that matters here is defence: a bloodveld's attack is magical melee, which means its accuracy is checked against your magic defence, not your melee defence. Wearing armour with decent magic defence — dragonhide is the classic, cheap option — meaningfully reduces how often it lands a hit, because bloodvelds are otherwise fairly accurate. The usual approach is a magic-defence base layer combined with your best melee weapon and Strength bonuses. For an exact, level-appropriate loadout, use our Boss Gear Finder above rather than copying a fixed list, and brush up your offensive stats with the Attack and Strength guides. For a full picture of melee armour tiers, see our melee gear page.
Inventory & supplies
Bloodvelds are forgiving, so the inventory is light. Bring food and your Prayer restoration of choice if you are praying through the task. A handy extra is a stack of nature runes for High Alchemy: bloodvelds frequently drop fire runes and items with a decent high-alch value, so you can alch while you kill to save bank trips and turn otherwise-junk loot into coins. If you plan to safespot in the God Wars Dungeon or its Wilderness version, you must wear the relevant god-aligned items (a Saradomin item and a Zamorak item) to reach and hold the safespots there. Because bloodvelds are not poisonous and not aggressive, you do not need antipoison or any special survival gear — a few pieces of food are plenty when you are praying through the task.
Fight mechanics
A bloodveld has a single attack: a magical melee tongue lash with an attack speed of 4. Despite using a melee animation, the accuracy roll is made against your magic defence — this is the detail that trips most players up. There are two separate things you do about it, and they are not the same:
- Reduce how often it hits: wear magic-defence armour such as dragonhide. This lowers the bloodveld's accuracy against you.
- Nullify the damage entirely: use Protect from Melee. Even though the attack is magic-based, you still pray melee — not magic — and it fully blocks the damage.
That is the whole fight. There are no phases, no special attacks, and nothing else to react to.
Strategy & safespots
The cleanest method is to combine the two defences above: pray Protect from Melee to take zero damage and wear magic-defence armour so misses cost you no Prayer-free turns. If you would rather save Prayer, bloodvelds are easy to safespot, which lets you kill them with ranged or a cannon while they cannot reach you.
- Slayer Tower: safespot behind the chair in the north-eastern corner of the central room, or next to the armour stands and wardrobes around the walls. In the task-only basement, stand in the north-west corner between the chest, chair, broken table and shelves.
- Stronghold Slayer Cave: use a dwarf multicannon safespot in the north-east section (often busy), or the east-room spot north of the rocks and east of a pillar.
- God Wars Dungeon: safespot behind the brick piles north-east of the exit rope (needs both a Saradomin and a Zamorak item), or further north-east behind the coastal rock formations, where you only need a Zamorak item once you are in the safespot.
- Wilderness God Wars Dungeon: they can be safespotted using rocks here too, which also requires both a Saradomin and a Zamorak item — but remember this is the Wilderness, so other players are a risk.
Whether you safespot or tank, the kill loop is the same: tag, kill with melee (demonbane if you have one, since bloodvelds count as demons), and alch the fire runes between kills. With Protect from Melee up and magic-defence armour on, a bloodveld task is one of the most relaxed sources of Slayer experience in the game, which is why it shows up so often on lower-level assignment lists.
Notable drops
Bloodvelds have no true unique items — their table resembles that of lesser demons — but a few drops are worth noting. Every kill drops vile ashes (a 100% drop). The headline tertiary is the ensouled bloodveld head at 1/35, useful for Arceuus reanimation. Blood runes drop in stacks (3, 10 or 30) and fire runes come in stacks of 60, which pair well with the alch strategy. On a Konar task, bloodvelds can also drop a Brimstone key. If you have the Bigger and Badder Slayer reward unlocked, there is a 1/200 chance after each kill that a superior insatiable Bloodveld spawns (combat level 202, 290 Hitpoints, max hit 15) for a better loot roll — this happens everywhere except the God Wars Dungeon and its Wilderness version. The render engine above shows the full drop table with exact rates.
Common mistakes
- Praying the wrong prayer. The attack is magic-based, so players instinctively flick Protect from Magic — that does nothing here. You must pray Protect from Melee.
- Wearing melee-defence armour and expecting fewer hits. Melee defence is irrelevant; the accuracy check is against your magic defence, so dragonhide-style gear is what cuts the hit rate.
- Skipping the requirement check. You need 50 Slayer to deal damage at all, and the God Wars Dungeon spawns additionally require 60 Strength or Agility to reach.
- Banking the alchables. Bringing Prayer supplies but forgetting nature runes wastes the frequent fire-rune and high-alch drops.
Bloodveld Guide — FAQ
What Slayer level do I need to kill Bloodvelds?
You need 50 Slayer to damage a bloodveld at all. Some locations add an access requirement on top of that — God Wars Dungeon spawns need 60 Strength or Agility, and Morytania spots need the Priest in Peril quest.
Which prayer should I use against Bloodvelds?
Protect from Melee. Even though the bloodveld's attack is magic-based, you pray melee (not magic) to nullify the damage completely.
Why does my armour barely help against Bloodvelds?
Their attack is magical melee, so the hit chance is rolled against your magic defence rather than your melee defence. Wearing magic-defence armour such as dragonhide reduces how often they hit you.
Can Bloodvelds be safespotted?
Yes. They are easy to safespot in the Slayer Tower (behind the central-room chair or by the wall furniture), in the Stronghold Slayer Cave (including a dwarf multicannon spot), and in the God Wars Dungeon behind the brick piles or coastal rocks.
Heading
Possible reasons for this: our item ID is wrong, osrsbox is down or GE Tracker is down. Report this here.

