

Ba-Ba Best in Slot Gear & Strategy Guide
Best Gear vs Ba-Ba
auto-updated from live wiki dataYour stats
Defaults to a maxed (99s) main-game account. Edit any stat to match yours.
Best Ranged setup vs Ba-Ba
Suggested items
Damage / sec
—
vs Ba-Ba
Max hit—
Accuracy—
Time to kill—
Setup value
—
Build options — pick your budget
Open in the DPS calculator →
Best in slot gear for Ba-Ba (current meta)
This setup is computed live from the same wiki-sourced combat stats and monster data that power our OSRS DPS calculator — so it tracks the current meta instead of going stale. Pick your combat style above and it ranks every viable weapon and armour piece by damage per second against Ba-Ba, factoring in the boss's defences, size and any elemental weakness.
Not at maxed stats? Lower any level on the left and the recommendation re-ranks instantly — requirement-gated gear drops out automatically. For the full ranked list per slot, open the BiS calculator; to pit two specific items against each other, use Gear Compare.
Ba-Ba Strategy Guide
Ba-Ba Guide
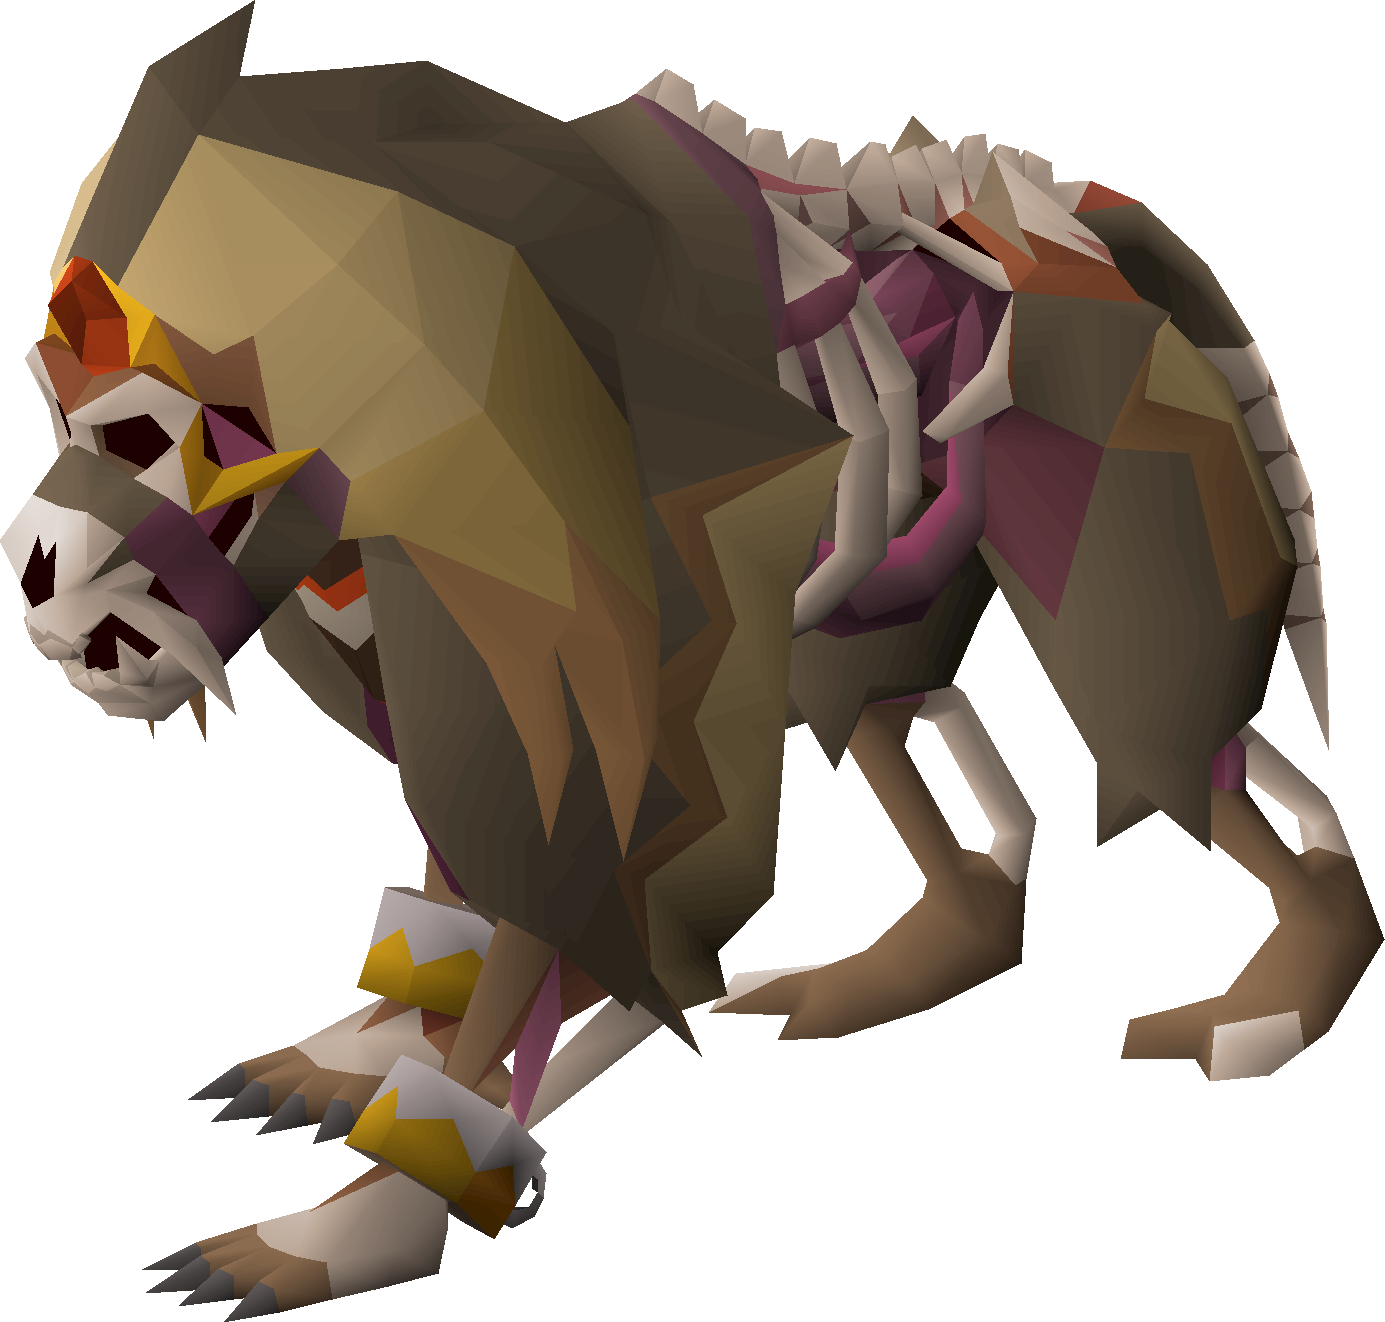
Ba-Ba is an ancient baboon matriarch fought at the end of the Path of Apmeken inside the Tombs of Amascut raid. The Wiki describes her as "a big ol' monke" — a giant undead baboon who once ruled a troop across the Kharidian Desert before Amascut deceived her with a false promise of immortality and bound her to servitude. She is one of the guardian bosses of the raid and a combat level 359 encounter.
Her stat block scales with the raid, but the base figures are 380 Hitpoints, a max hit of 24, and attacks in both Crush and Ranged on a six-tick attack speed. The fight is built around four special mechanics rather than her basic swings: a cross-shaped ground Shockwave, a Rockfall that forces you to hide behind cover, a Baboon's Discharge that spawns baboons to open sarcophagi, and a Rolling Stones boulder phase at 66% and 33% health. Crucially, the whole fight gets harder the higher your raid invocation level is set.
Overview — what & where
Ba-Ba is encountered at the end of the Path of Apmeken, one of the routes within the Tombs of Amascut raid. She is an ancient baboon matriarch and, in lore, an undead thrall: the Wiki recounts that after Amascut promised her immortality, Ba-Ba and her troop were killed off with a single spell and reanimated as undead, then used to overwhelm and imprison their own goddess Apmeken. Her examine text is simply "A big ol' monke."
She sits at combat level 359 and is an aggressive monster. Because she lives inside a raid, there is no standalone Slayer or quest gate to reach her — you fight her as part of running the Path of Apmeken. One important quirk for an undead boss: the Wiki notes that salve amulets have no effect when fighting Ba-Ba, so the usual undead-damage bonus does not apply here.
How difficulty scales — invocations
Tombs of Amascut lets you raise the challenge with invocations, and several of them directly change the Ba-Ba fight. The higher you push your raid level, the harder she becomes:
- Shaking Things Up widens her Shockwave slam from a 5x5 cross-shaped area to a larger 7x7 "circular" area, giving you less room to dodge.
- Mind the Gap turns the pit at the bottom of the arena lethal — falling in (from a boulder knockback or her scream) results in instant death.
- Path Level invocations scale the encounter in steps: per the Wiki, every two levels increases the speed at which boulders drop from the ceiling, increases the AoE of an opened sarcophagus, and gives the rolling boulders additional health — an extra 2 HP at level 2 (27 health) and a further 4 on top at level 4 (31 health).
Her base defence level can be lowered by a maximum of 20, down to a minimum of 60, so defence-reduction specs are useful but capped.
Recommended gear & style
Ba-Ba is fought as part of a raid setup, so your loadout should match the rest of your Tombs of Amascut trip rather than being built just for her. Rather than list exact items, plug your bank into our Boss Gear Finder above to get the strongest loadout you can afford. A few facts from the Wiki shape the style picture:
- The Wiki's Tombs of Amascut strategy names Melee as the primary style for Ba-Ba — she is weakest to Stab (her stab defence of 80 is her lowest), and Osmumten's fang is highlighted because it scales well with invocation and stays accurate against defensive targets.
- Her heavy Ranged defence was reduced from 200 to 120 in the 2024 rebalance, so Ranged remains a viable and accessible alternative. See our Ranged guide for training the level.
- She is immune to a cannon, so don't plan around one.
- Because her defence can only be dropped by 20 (to a floor of 60), bring whatever accuracy your style needs rather than relying on stacking large defence reductions.
For the exact weapons, armour and ring choices across every budget tier, use the Boss Gear Finder rather than copying a fixed list.
Fight mechanics — Shockwave & Rockfall
Beyond her standard Crush and Ranged attacks (max hit 24), Ba-Ba's special attacks are what make the fight. Her melee attacks are fully blocked with Protect from Melee — since the June 2025 update this negates the damage entirely rather than just reducing it.
Shockwave — Ba-Ba prepares to slam the ground, shown by a shadow spreading in a cross-shaped pattern that fills a 5x5 area (or a 7x7 circular area if Shaking Things Up is active). Anyone standing in the marked area takes damage, so step out of the shadow before she slams. The Wiki notes she also uses this as a faster "stomp" if your character stands underneath her for too long, so don't park directly beneath her.
Rockfall — large boulders fall at random spots across the arena and damage you if not avoided. Shortly after, Ba-Ba hurls rocks at every player. To avoid the thrown-rock damage you must stand next to a large debris pile, a sarcophagus, a baboon, or even another player — the object soaks the hit. Since the June 2025 update, that boulder-throw damage is always split completely with any appropriate object, including sarcophagi.
Fight mechanics — Baboons & Rolling Stones
Baboon's Discharge — Ba-Ba summons 1 to 4 baboons that make for the sarcophagi around the edge of the arena. If a baboon destroys and opens a sarcophagus, it discharges a deluge of projectiles into the arena. Kill the baboons before they reach a sarcophagus to stop the discharge, and remember that with Path Level invocations the AoE from an opened sarcophagus grows.
Rolling Stones — this is the signature phase. Once Ba-Ba drops to 66% and again at 33% health, she knocks players to the bottom of the arena and sends waves of four boulders rolling down. In each row, one of the boulders is visibly cracked, and you are guaranteed a max hit against it — destroy the cracked boulder to make a gap and pass through that row. Getting hit by a boulder deals moderate damage and knocks you backwards, and the boulders instantly kill any baboons they run into. One important detail: if Ba-Ba is attacked with Melee during this phase she stops throwing boulders early and returns to attacking. With the Mind the Gap invocation, the gap at the bottom of the arena instantly kills players who fall into it, so during the knockback you must stand near the sides (avoiding the middle columns where the gap is) or on the very top row.
Notable drops
Ba-Ba's own drop table is short and entirely lore-based — the meaningful raid rewards come from the Tombs of Amascut chest after the raid, not from her directly. According to the Wiki she has two guaranteed drops:
- Apmeken's capture — a lore item, dropped once (only received if you have not already read it).
- Big banana — dropped once, only received by the player who dealt the most damage to Ba-Ba. In lore, the adventurer hands this to Awowogei in Ape Atoll.
Both are listed on the Wiki as "Always" drops with the conditions above. Ba-Ba does not drop gear or gold herself.
Common mistakes
- Standing in the Shockwave shadow. The cross-shaped shadow telegraphs the slam — step out of the marked tiles before she lands it, and note it widens to 7x7 with Shaking Things Up.
- Parking underneath her. Staying under Ba-Ba for too long triggers a faster "stomp" version of the slam that reacts much more quickly.
- Not using cover on Rockfall. The thrown rocks are avoided by standing next to debris, a sarcophagus, a baboon, or another player — caught in the open, you eat the full hit.
- Letting baboons reach the sarcophagi. An opened sarcophagus discharges projectiles across the arena; kill the 1-4 baboons before they break one open.
- Falling into the gap with Mind the Gap on. The pit is an instant kill with that invocation — during boulder knockbacks stay near the sides or the top row, away from the middle columns.
- Bringing a cannon. Ba-Ba is immune to cannons, so it does nothing here.
Ba-Ba Guide — FAQ
Where do I fight Ba-Ba?
Ba-Ba is the boss at the end of the Path of Apmeken, one of the routes inside the Tombs of Amascut raid. You fight her as part of running that path — there's no separate Slayer or quest requirement to reach her. She is a combat level 359 undead baboon matriarch.
What is Ba-Ba weak to, and does a salve amulet work?
Her heavy Ranged defence was cut from 200 to 120 in the 2024 rebalance, so Ranged is effective and accessible. Despite being undead, the Wiki notes that salve amulets have no effect against her, so the usual undead bonus doesn't apply. Her defence can only be lowered by a maximum of 20 (to a floor of 60).
How does the rolling-boulder phase work?
At 66% and 33% health Ba-Ba knocks you to the bottom of the arena and sends waves of four boulders rolling down. In each row one boulder is visibly cracked, and you get a guaranteed max hit on it — break it to open a gap and advance. Boulders knock you back and instantly kill baboons; attacking Ba-Ba with Melee ends the phase early.
Why does Ba-Ba get harder at higher raid levels?
Tombs of Amascut invocations scale her up. Shaking Things Up widens her slam to a 7x7 area, Mind the Gap makes the arena pit an instant kill, and Path Level invocations speed up the falling boulders, increase the opened-sarcophagus AoE, and give the rolling boulders extra health (27 at level 2, 31 at level 4) every two levels.
Heading
Possible reasons for this: our item ID is wrong, osrsbox is down or GE Tracker is down. Report this here.

